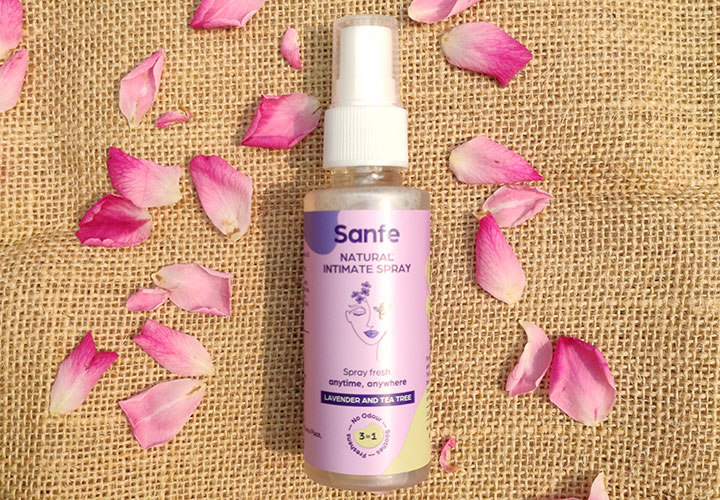
Sanfe natural intimate spray: my intimate story
It's been more than a month now I am using Sanfe Natural Intimate Spray. Let's talk about why I and my intimate area love it.
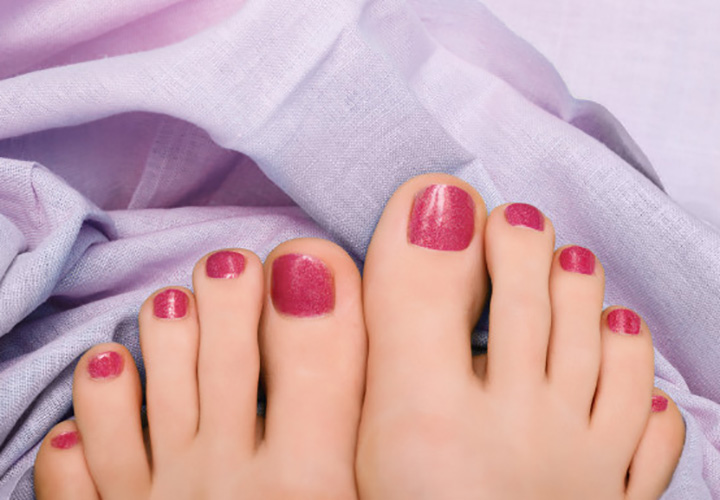
Have you ever imagined if your feet could ever speak, what did they tell you?
They must have complained that how easily you ignore them given that they are the vital appendages of your body.
Do you know that your feet support more than 100,000 pounds of pressure to walk a mile!!!
Truly our feet work hard for us every day. And what do we do in return? We leave them neglected, dejected, and they never get enough love.
The skin of soles does not have sebaceous glands so they do need topical nourishment. Moreover, feet contain vital nerves that are connected right from the spine to the heart and brain.
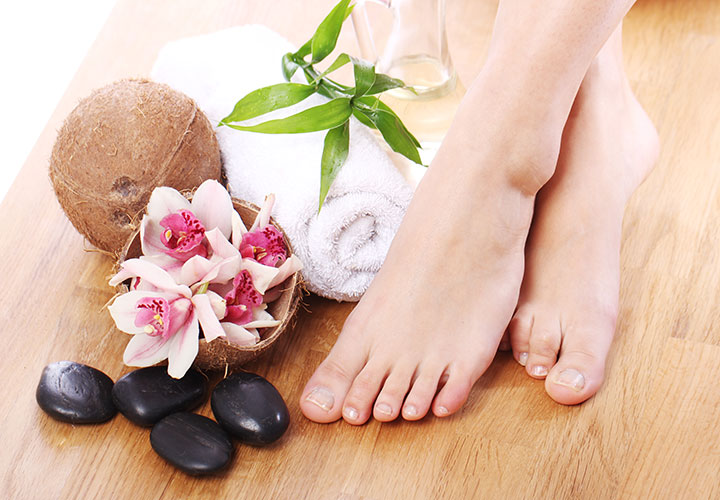
Our soles contain those acupressure points that help in relieving stress and fatigue. And thus, the best way to groom our legs and feet is a pedicure.
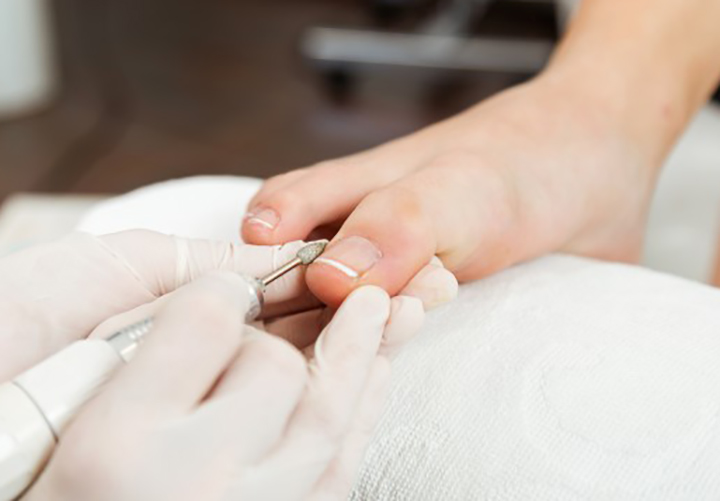
There is nothing more heavenly than sitting on a cosy couch getting your feet pampered in a salon. But you need to pay a hefty sum of money on every visit? Plus there is always a chance of post-pedi-infection.
A safer option is to go for a pedicure at home. So take your feet out from the sad state and give them that much-needed salon-worthy pedicure.
If you are missing the salon ambience, let’s create a makeshift salon at home. For a spa-like ambience, lit some aromatic candles, get a cup of herbal tea ready, dim the lights, play some soothing music, and your makeshift spa is ready.
Before you make up your mind for a pedicure, make sure that you have ample amount of time. Otherwise, you would not get the optimum results. Also, the foot spa is all about comforting your feet. So your mind should be relaxed and calm.
Well! Now when the pretext is ready, let’s know how to do pedicure at home.
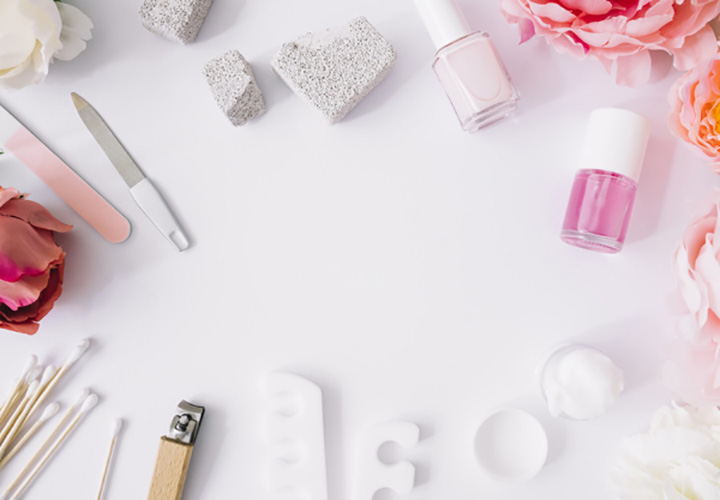
Make your foot spa tote has the following items.
Wax your legs and feet before a day or two for extra smoothness. Make sure that all the tools are sanitized properly before you start the pedicure. Otherwise, bacteria can linger on tools that are not properly cleaned.
Pre-Requisites
Clean your feet thoroughly with a gentle soap or cleanser and pat dry with a towel. Make sure the cleanser is made with harsh chemical-free ingredients to get the optimum result.
Do away with remnants of your last nail paint.
Even if you don’t have any nail paint, you will still have to follow this step to remove the traces of any dirt or buildup.
You can either use remover wipes or a liquid remover. Whatever you are using, make sure is acetone-free as your toenails are delicate and very prone to breakage.
Non-acetone remover is pretty gentle on nails. Many women face problems like discoloured toenails due to Acetone based removers. Thus, non-acetone removers help a lot in treating discoloured toenails.
To expedite this process, saturate a cotton swab in remover and press gently against the nail for 3 to 4 seconds. It will dissolve the nail polish and nail paint would come out easily.
Now apply a thick layer of cuticle cream all over your nails.
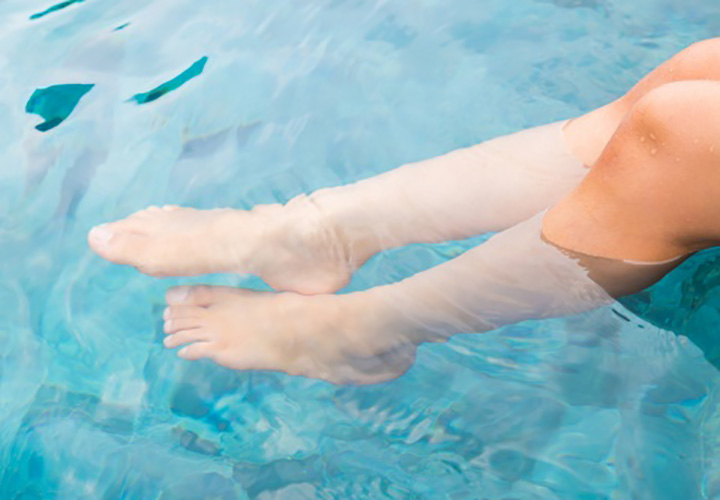
It is the comfiest part of an entire pedicure at home session. It snatches away all the fatigue and pain.
Take a tub full of lukewarm water and sprinkle some rose petals.
Add some Epsom Salt or readymade bath salt, a few drops of mild Sulphate free shampoo, lemon juice, and finish the concoction with a few drops of Tea Tree Oil.
Now give your feet a nice foot bath in this concoction by soaking your feet for 15 minutes. Trust me! This is the ultimate recipe to drain out all the stress your tired and aching feet have gone through.
You can place some pebbles and marbles in the tub. And, roll your soles over them to give your feet a nice massage.
Now dedicate some moments to slough off the dead skin cells.
Scrubbing is the key in the session of a pedicure at home.
Scrub your feet very well with pumice stone and loofah to dislodge all the dead and flaky skin. Pay extra attention to the heels.
Clean nails with a nailbrush. Take out all the dirt accumulated underneath your nails.
Now wash your feet with normal water to get rid of every last bit of the soapy water.
Your nails and cuticles are now softened.
Now, it is time to use a cuticle stick to push the cuticles behind.
You better underdone this process rather than overdone as cuticles are the hotspot of infection. Never cut the cuticles as you might end up bleeding. So leave the cuticle cutting on experts for your next visit to the salon.
Trim your nails and give those a desired shape.
Always clip the toenails straight across. Never cut corners too deep as it might lead to ingrown nails.
Unlike hand nails, short toenails look beautiful and elegant. So it is advisable to keep toenails very short otherwise they might get stuck on things and get chipped and knacked
If you ever experience any toenail injury, it would be pretty traumatizing as it takes much time to heal. However, beware of cutting nails too short as your fingers might experience that stinging feeling due to overexposed skin.
You can give your toenails any shape like a square, pointed or oval. Square is known to be the safest shape for that matter.
Shape your nails using a filer and if you have any hangnails, cut them very carefully.
Gently move the filer in one direction across the top of the nail until the edge is smooth.
Avoid rubbing to and fro as it might lead to jagged nails.
Now, it is time for exfoliation.
Apply a thick layer of your favourite scrub and massage your feet, knees and calves in a circular motion for around 10 minutes. And then, wash off.
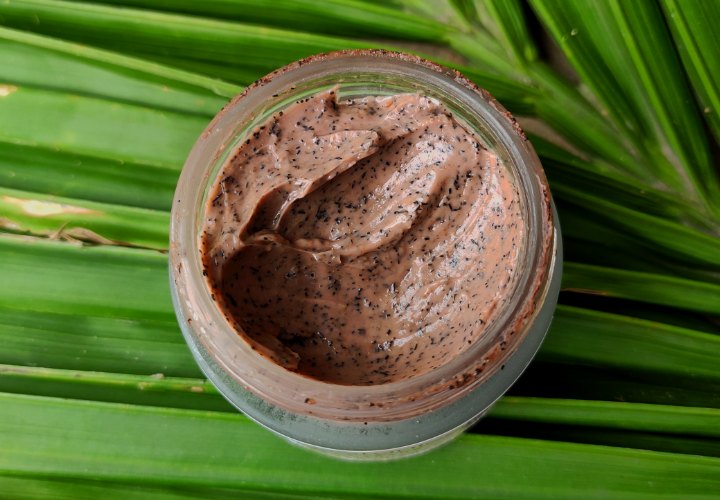
DIY Foot Scrub
No scrub? You can always make one at home.
Mix coffee and organic sugar granules in a bowl. Massage in a circular motion. Afterwards, wash off with normal water.
Make sure there are no residues under your nails and between toes. Rub a lemon wedge on toenails. It helps in removing all the residues from nails. The more luxurious a foot spa is, the more luxurious the massage and scrub would be.
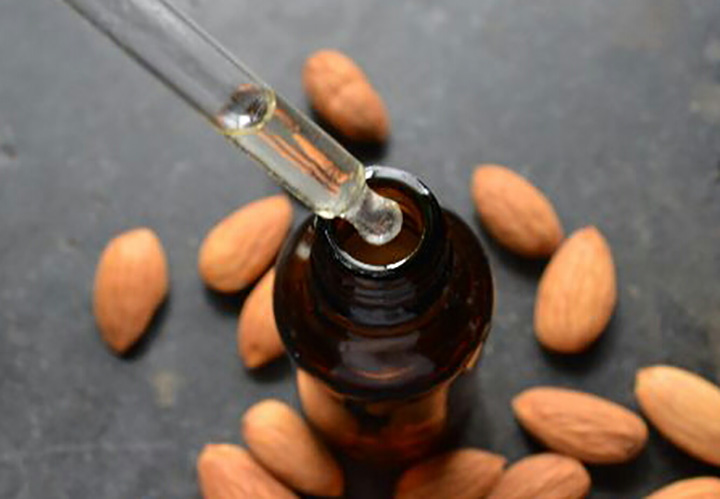
Oiling is the best way to cultivate cuticles. Apply some cuticle oil and massage your nails.
This will help in strengthening the nails and save them from snaps and splits. Also, it helps your nail paint last longer.
If you don’t have cuticle oil, castor oil will do the job just as well.
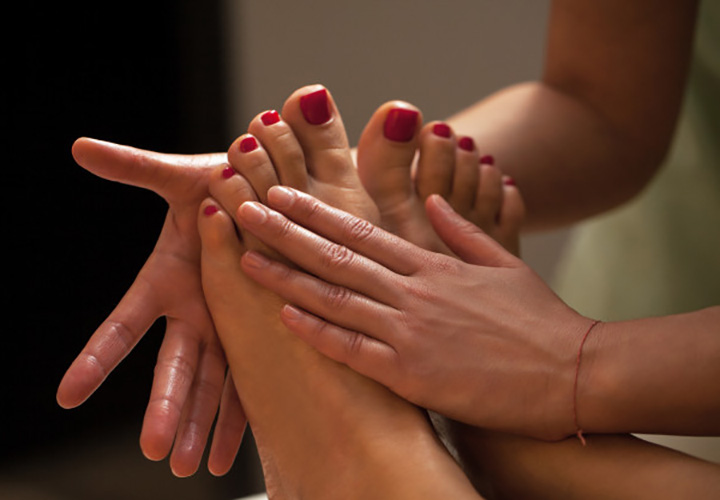
Your feet need some hydration and nourishment after all that soaking and scrubbing.
So lather a heavy-duty nourishing foot cream and massage for good 15 minutes. If you want a relaxing massage for tired feet, follow the below technique:
Start with a twisting warm-up
Twist both feet left and right from toes to ankles and vice versa.
Massage in a circular motion from toes to knees by applying gentle pressure.
Roll your thumb over toe pads and press down to the ball of the foot using downward strokes.
Include your calves and knees in the massage too.
Tap your fingers all over giving finishing strokes. This massage will take away all the pains and aches and revitalize your feet.
If you don’t have a foot cream, then any rich texture cream would work.
Or, you can make always DIY the cream by mixing two tablespoon buttermilk, half cup honey and juice of half orange.
Remember, massage should be relaxing enough to make the session of a pedicure at home successful.
Soak an absorbent towel in warm water and wrap around your feet for about 10 minutes.
Wipe off any cream residues from your now-smooth feet.
Apply an adequate amount of any anti-tan masque to your feet and wait till it is dry.
Now wash with normal water leaving no residue behind.
Are you running short of masque?
Make one for yourself by mixing one tbsp sandalwood powder, now tbsp gram flour, and one tbsp turmeric. This masque is pretty effective in removing sun-tan. It also provides a cooling effect to your feet.
Buff your nails in x shape with a buffing cube. Toenails have a tendency to get ridges on them.
Buffing will give your nails a polished look and also helps the nail paint to latch on.
Make sure to buff in moderation or else you will end up damaging your nails.
Now dust off all the nails with a brush.
Soak a cotton ball in remover and wipe off any nix of emollient.
Prep your nails with a base coat, that will act as a barrier between the natural oils of nails and the colour polish
In that way, your polish would adhere long. This is similar to preparing the foundation.
So never skip this step if you want salon-worthy nails. Apply a thin layer and wait for a few minutes till it is dry off.
Decorate your nails with your favourite nail colour.
Use a toe separator to avoid any smudging.
In case, you don’t have a toe separator, twirl a towel or paper between your toes.
Coordinate the colour with your hands nail paint. When in doubt, go for some dark shades. Dark colours always look good on the feet.
Make sure to apply thin coats for an even and durable polish.
Slide the brush all the way down to the cuticle and corners of the nails. Again wait for a few minutes and apply a second coat for a lustrous finish.
When the colour polish is completely dry, apply a topcoat covering your nails completely to seal in your efforts.
Tidy up any wobbly edges by dipping your lipstick brush in remover and wipe off carefully.
Again drop some cuticle oil over all the 10 nails. It will condition the ragged cuticles on the go.
Slather up your feet with 100% extra virgin coconut oil and put on socks for two hours to lock in the moisture.
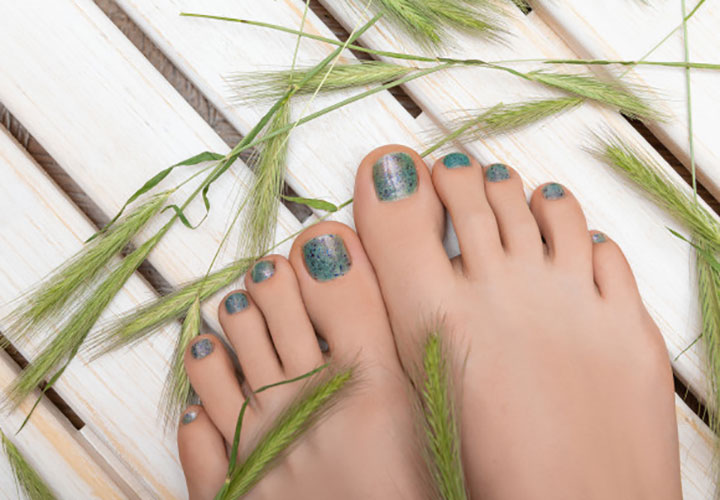
Voila! Get ready to welcome your feather-soft feet. Embellish them with fancy anklets and toe rings.
Now let’s be real. Today’s busy life leaves us with very little time for ourselves. So it’s a bit hard to spare some time to pamper feet.
However, you cannot leave your feet in a chapped as hell condition. So you need to set up a routine.
Do this pedicure regime every fortnight along with following steps to keep pedicure last long:
These steps barely take time. By incorporating these steps, you can increase the lifespan of your pedicure at home for up to two weeks.
Treating our feet with a luxurious pedicure session is all we want after a long & tiring day.
Now that you have the answer of how to do pedicure at home, start right away.
Glam up your feet in stilettos & summer sandals confidently and turn heads.
And yes, don’t forget to click the before and after pedicure pictures to be amazed to see the transformation.
That’s all for today! If you are new to Cosmetics Arena and also if you like this article, please hit the Subscribe button. And, check out interesting beauty tips and tricks.
It's been more than a month now I am using Sanfe Natural Intimate Spray. Let's talk about why I and my intimate area love it.
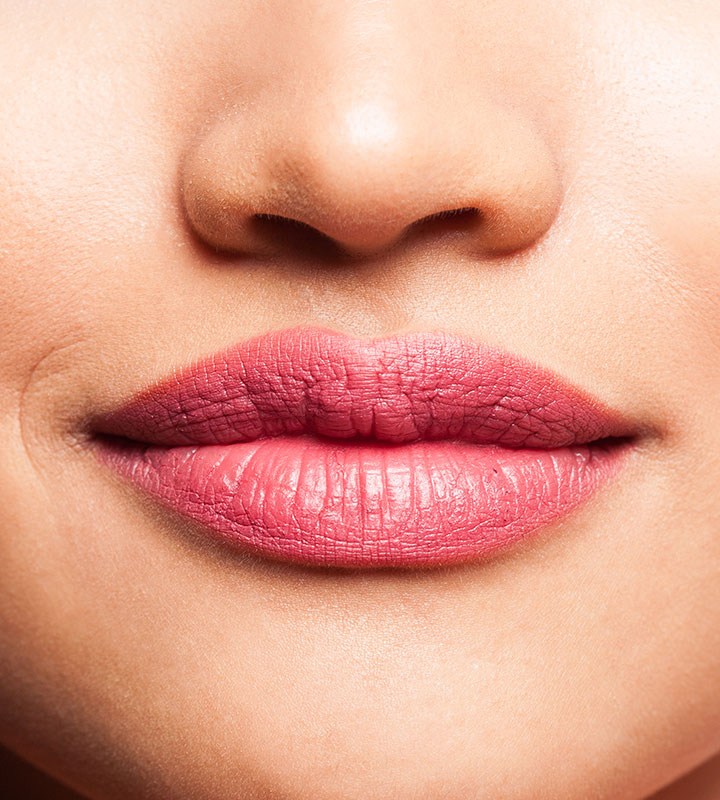
No matter how chapped or dry your lips are, all you need to know are these few simple lip exfoliator recipes. Trust me! I have personally tried and tested out the efficacies of these. Check out yourself how nourishing and hydrating the exfoliators are.
It's time to talk about some of the best secrets that you need for a rejuvenated and glowing skin.

It is not much difficult to control hair fall. All you need to know is a bunch of natural solutions and a few effective tips. Check out here!
Learn how to create a complete vegan skincare routine using plant-based, cruelty-free products. Discover cleansing, toning, treatments, moisturizing, and sun protection steps tailored for every skin type.
Are you in trouble with your thin hair? Is your scalp dandruff-prone? Check out the simplest homemade hair mask recipes you need to try out to eliminate all the hair woes.
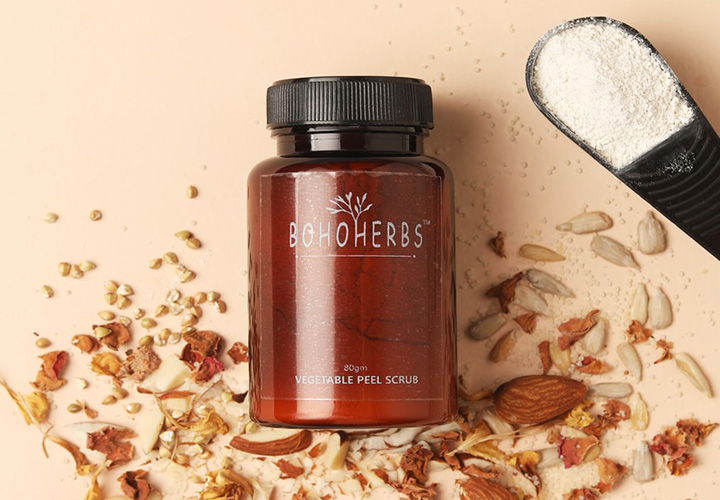
This ultimate guide will help you to know why peel-off masks matter, how to include them in your skincare diary to achieve a glowing and healthy skin.
There are several benefits of using niacinamide serum. Know what makes this serum not only great for oily skin but also for all skin types.

For beginners, it is always quite difficult to choose the wig that is not only trendy but also looks realistic. Well! Help yourself with this short guide.
In a market full of aloe vera gels, how different this gel is from its peers? Check out the review to know the answer.
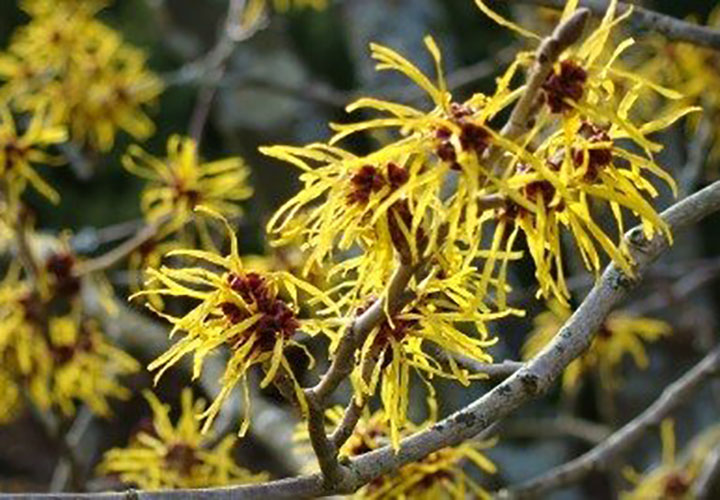
Witch Hazel has always been known as the best natural astringent ever. But, it's time to know all the possible side effects of this beneficial herb.
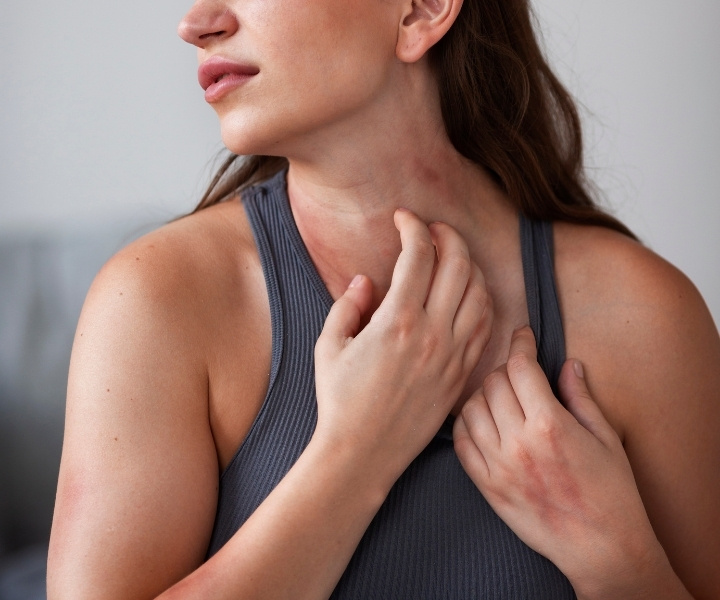
Learn how to recognize warning spots on skin, from ringworm vs eczema to changing moles and unusual patches. Discover which skin signs may indicate underlying health problems.