Plum goodness thinkderma range of products: new launch alert
Plum has recently launched ThinkDerma range of products. Check out the key features and some basic details about these skincare goodies,

Hey, divas!
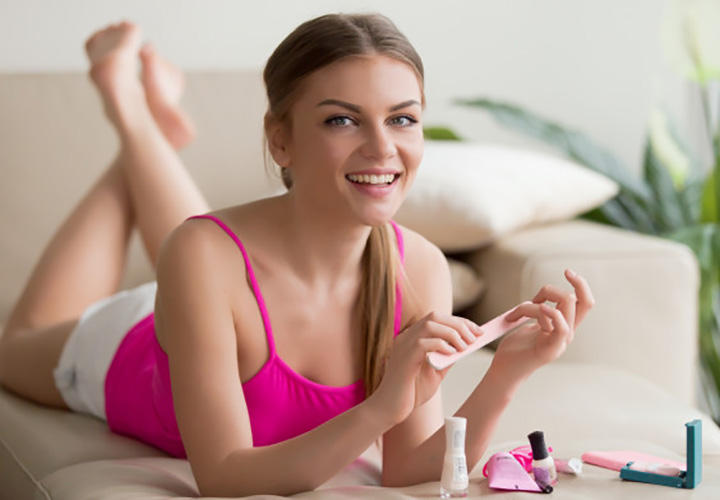
Do you want to spruce up the nail game but don’t have the time (or specifically ‘option’ in this lockdown) to go to the salon?
Here we have got you covered. Now, you can get a salon-like manicure at home without burning a hole in your wallet.
Well! We all long for some ‘me time’ but when we get it, we spend it in Facebooking, sleeping, or just fiddling around. Why not carve out this ‘me time’ in something fun and fruitful? Read on to know how to do the perfect manicure at home.
Do you know that people often notice our hands to gauge our age and personality? Truly our hands speak a lot about us.
The skin there is thin as compared to other body parts. So our hands are more susceptible to damage.
They are exposed to chemicals, dust, detergents, heat, pollution, and whatnot. This eventually leads to wrinkles, pigmentation, dry skin, dark knuckles, and other signs of ageing. So, just like the other body parts, our hands do deserve some pampering.
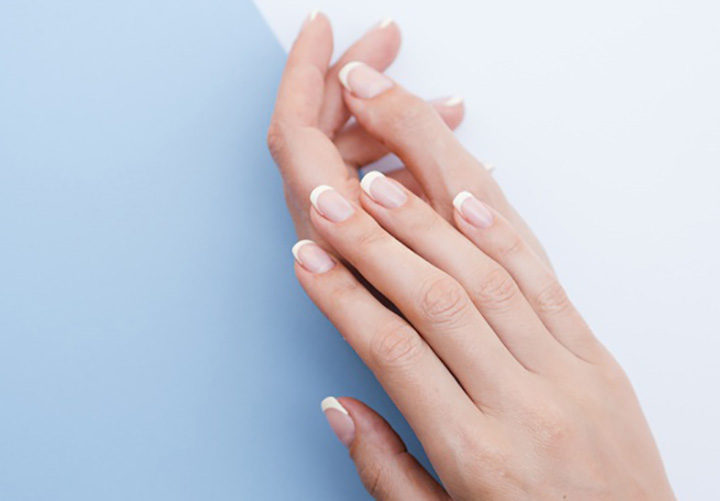
A good manicure gives your hands a healthy vibrant glow and gives your nails a crisp neat look.
So let’s show some love to the busiest part of our body as we do for our face.
If you are wondering how to do manicure at home like a manicurist, then follow me step by step to nail the art of manicure.
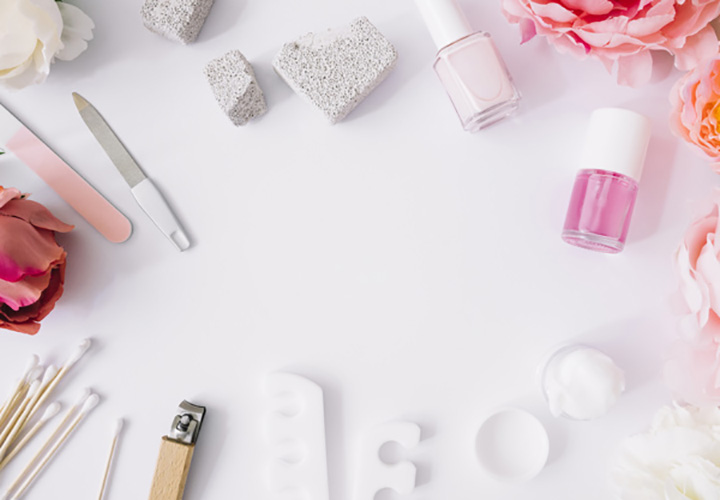
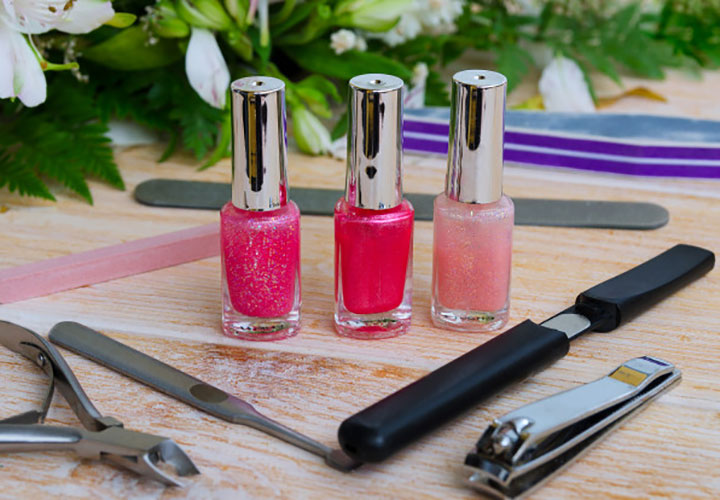
Before starting the manicure, make sure to keep all the essentials handy. You don’t want to run for things having cream or wet paint on your hands, right? Here is the list of things you need.
Indeed, most of the things in the above list are available at your home. You would just need to do a one-time investment in a manicure toolset.
Pro tip
Store your nail polish bottle in refrigerator and roll it between your hands from time to time. It’s a game changer to increase the life of your nail paint.
Wax your hands a day before, to get the optimum results. Neither just before nor right after the manicure.
Take off all the rings and bracelets from your hands that may get in the way and wash your hands properly with a normal hand wash. This will remove all the impurities and bacteria from your hands.
And now you are ready for your manicure session. Let’s hop inside.
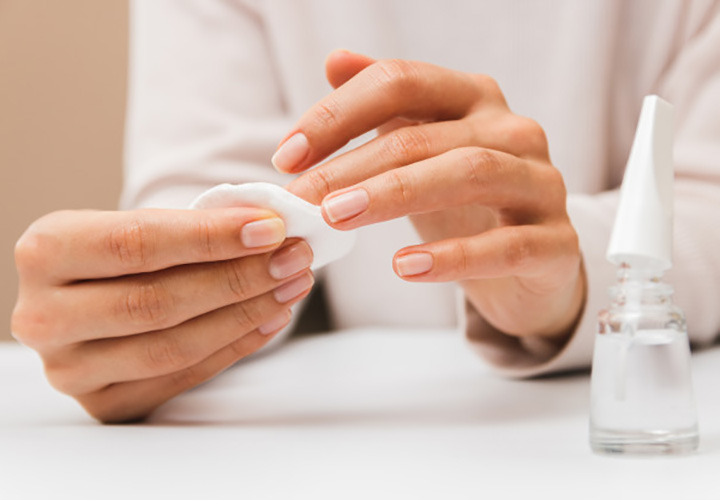
Get rid of the already existing nail polish from your nails. Make sure to use an acetone-free nail paint remover as acetone warps out the upper protective layer of nails.
Non-acetone remover is gentler. But such remover takes time to remove the nail paint. And thus, here is a pro tip.
Place a cotton ball on the nail for 5 seconds and then remove. It will make the removal quicker and cleaner.
Always wipe the cotton ball from inside to outside. It will prevent the nail paint from leaving any residues on the cuticles. Yaay! Your natural, polish-free nail plates are ready for the next step.
Get ready to reveal softer, smoother, and clearer skin by exfoliating your hands. You can always use a readymade scrub. Indeed it would save your time to a great extent. I would always suggest going for scrubs that are free from harsh chemicals.
But, in case, you are a DIY fan, here is a short and sweet DIY scrub recipe for you.
Mix two tbsp of rice powder, two tbsp Yoghurt, and one tbsp Turmeric. Mix everything to make a thick paste.
Apply this paste all over your hands and scrub in circular motions. This will scoop out all the dirt & dead skin cells from your skin and would open up your pores.
Pay extra attention to your knuckles as they are the house of dead cells.
Make a concoction of Almond oil, Olive oil, and Coconut oil. Dab it over the entire nail & cuticles and massage it in.
It will deeply condition the rough & ragged cuticles. And, would soothe torn hangnails.
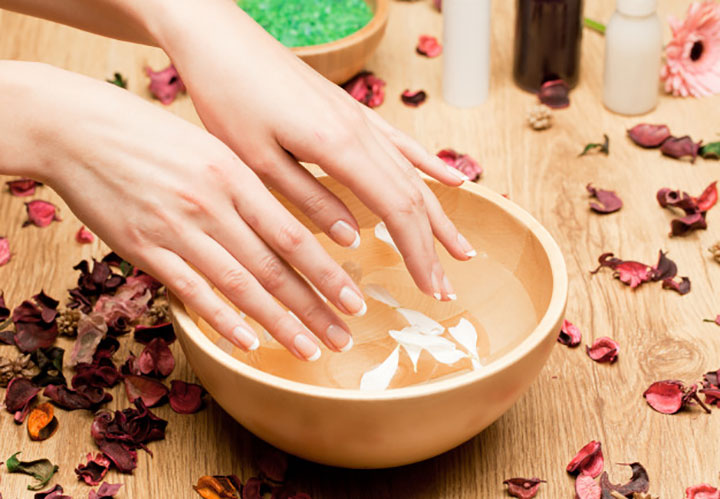
Add a few drops of a mild sulphate free shampoo or a mild cleanser to a bowl of lukewarm water.
You can also add a few drops of Rosemary essential oil to the water.
Now soak your hands and nails into it for 3 – 4 minutes (not more than that as it will do more harm than good). Clean your hands and nails with a soft bristle brush.
After 3-4 minutes, immerse your hands in plain cold water for 2 minutes. This contrast therapy will help in repairing the tissues.
It’s time to give your hands a relaxing massage with nourishing hand cream. You can make your own DIY hand cream by mixing Pure Aloe vera gel, Glycerine, and Milk cream in equal proportions. For more hydration, you can add a vitamin E capsule.
Slather the cream all over your hands and massage for good 15 minutes.
Press the tips of your fingers and thumb gently and massage in circular motions.
Take deep breaths while massaging. It would help your tissues and muscles relax.
Massage the pads of your palms using your thumb by applying gentle pressure. Work your way from inside to outside. Roll your first two fingers on to the meaty part below the thumb. Massage all the knuckles of your hands separately in small circular motions with your index finger.
Roll your index finger between the bridges of all the fingers. Massage cuticles of nails in a circular motion and now chill for 2 minutes.
Let it seep down deep into your skin cells. This step will keep your skin slick, rejuvenated, and relaxed.
Take some hot water in a wide container and add some rose petals.
Place your hands above the bowl and cover it up with a towel.
Let the cells of your hands inhale the steam for 5 minutes (not more than that).
Steam softens and opens up the pores allowing the massage cream to penetrate deep in tissues. Also, it helps in releasing the dirt and dead skin.
Now wipe off the excess cream and rub a lemon wedge on your nails. Vitamin C in lemon strengthens your nails and clean stains if any. Honestly, doing a manicure at home is pretty easy if you keep all the tools handy.
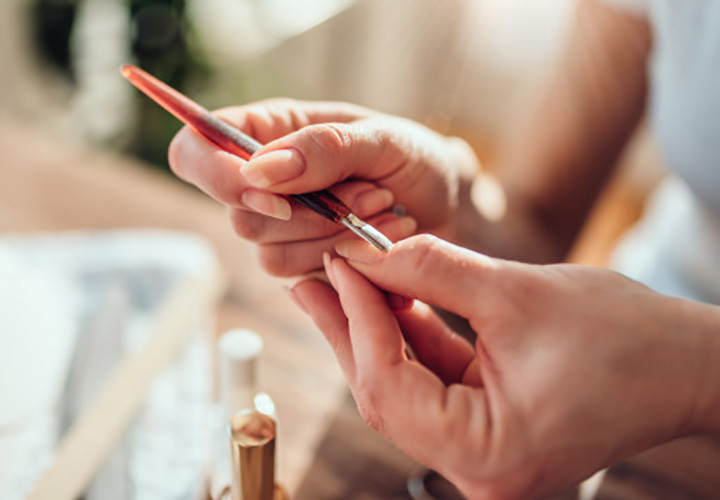
Now grab your orange stick and push back the cuticles.
Massaging and steaming makes cuticles soft so it would be easier to push them back at this point of time in the manicure.
Make sure you do it very gently otherwise it may lead to serious infection.
If you have any hangnails, cut those carefully.
Well! Applying a mask is one of the most crucial steps in a manicure. All you need is a mask free from harmful chemicals. In case, you do not want to spend any extra buck, here is a simple mask recipe for you made with kitchen supplies.
Take one medium-sized potato and extract the juice. Now, mix the potato juice with honey and liquorice powder. Voila! Your mask s ready to be applied on hands.
Now, apply a thick layer evenly on your soft hands. When the mask dries up almost, wash thoroughly with cold water and pat dry. Trust me! This will give your hands a glass-like lustre.
Your baby soft hands are now ready to proceed to the ornamentation section.
After all these steps, your nails would become smooth. So, it becomes quite easy to cut and shape those.
Clip nails properly to give an even length to all the nails. Now file the nails to give the desired shape.
Square, round, almond or you can go creative as well to give your nails quirky shapes like a ballerina, Mountain peck, or lipstick bullet types of shapes.
While filing your nails, keep the filer tilt and file slightly underneath so that you can see the nail status and prevent over-filling.
Use a mild abrasive nail filer otherwise, it will end up splintering your nails.
Make sure to sweep the file over the nails only in one direction. Avoid filing back and forth as it might rip the tip and leave it jagged. Keep filing until you get a nice and tidy shape.
Take a multi-sided buffer and buff the tops and sides of nails in an x shape using unidirectional strokes for a polished glossy finish.
Five to six strokes should do the trick. Avoid over buffing as it might damage your nail plate.
Now when you are done with buffing, clipping, and filing, give your nails a shiny base coat.
Make sure to soak a cotton ball with nail paint remover and wipe off any emollient residues. Or else, the nail polish would not adhere to your nails properly.
Your clean, shaped, filed, and buffed nails are ready to polish.
Prep your nails with a base coat first. Basecoat to your nails is what primer is to your face. This will help to prevent staining of nails, shore up the nails, and would give an even finish.
Now let it dry for two to three minutes.
Give your nails a pop of colours!
Choose a colour polish of your choice. Roll the bottle back and forth horizontally between your palms to blend the polish evenly in order to avoid any air bubble formation.
Now start painting your nails. Make sure not to overload the brush, just take the amount sufficient to cover the nail plate. Overboard will cause uneven strokes.
If you want to give the illusion of slimmer and longer nails, leave the sides of nails while applying the polish. Again wait for two to three minutes and now apply a second coat for seamless coverage. This will give your nails a nice opaque look.
Pro Tip
Don’t choose your nail paint according to the color of your outfit or your makeup.
Always choose color as per your skin tone.
Burgundy, soft orange, and peachy pink are some of the universally flattering shades.
Seal the paint with a final topcoat.
Never skip this step else you will shorten the lifespan of your nail job by 5 times.
Cover your nails fully with a transparent coat. Slide brush across the tips of nails. It will lock out the paint from chipping.
Once dries out, this coating will give your nails a mirror-like gleam.
If any nail paint is dripped from the edges, grab your old lipstick brush, dip in nail paint remover, and clean those places carefully. At last, seal the glow by applying a gentle moisturizer all over your hands.
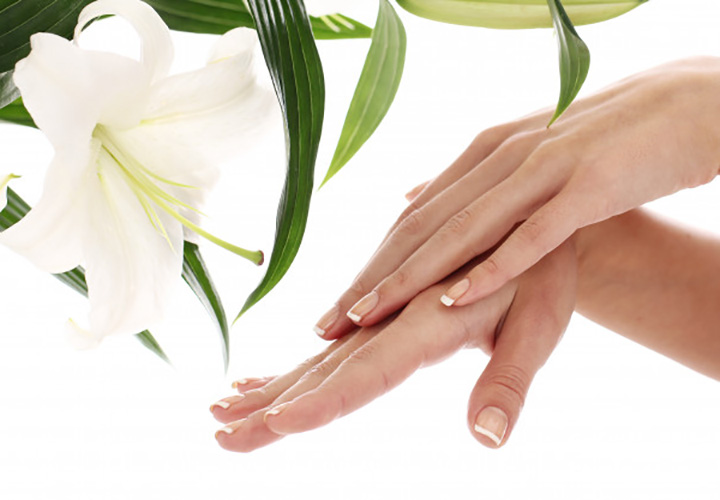
Next step?? Well! Melt with the pleasure of freshly painted nails and ultra-smooth hands.
If you are a fan of nail art and keep the latest nail trends on your radar, it’s time you try some of those while doing your manicure session at home. Just google it and play around with your choice of designs and colours.
So, it turned out that having well-groomed hands is easier than we thought. Ultra-smooth hands are actually in your hands. Doing a manicure at home not only saves a fraction of the of your earning but also gives you those exceptionally Instagrammable hands at the comfort of your home.
Whether you are doing your hand spa at home or in a salon, you should do it once or twice a month to maintain health, hygiene, and complexion of hands & nails.
Now that you have mastered the skills of manicure, try to do it timely and spare yourself from the guilt of not taking care of hands.
That’s all for today! If you like reading this article, please share it with your friends and family. Also do not forget to hit the Subscribe button to read such articles before anyone else.
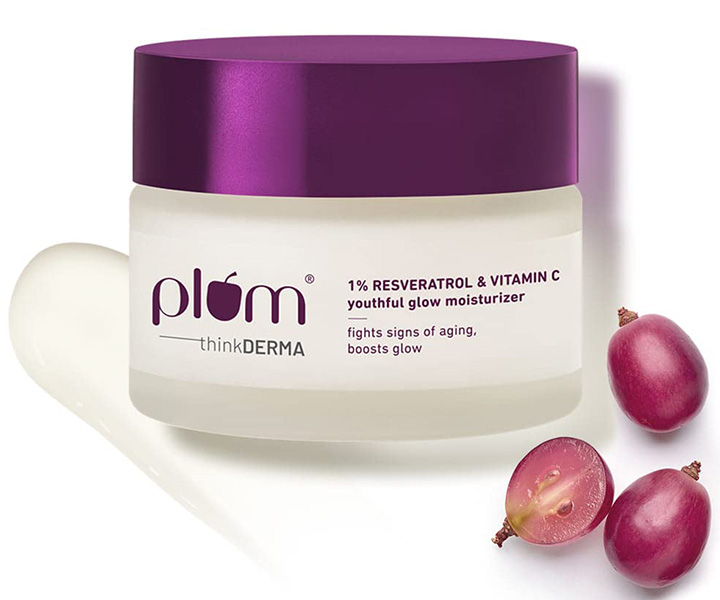
Plum has recently launched ThinkDerma range of products. Check out the key features and some basic details about these skincare goodies,
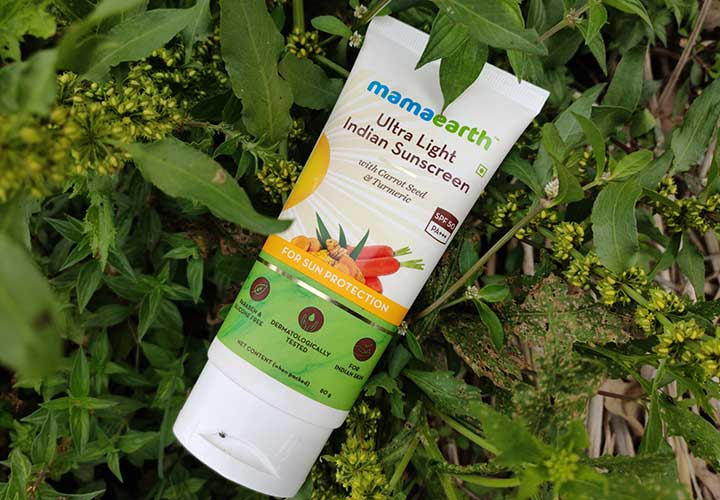
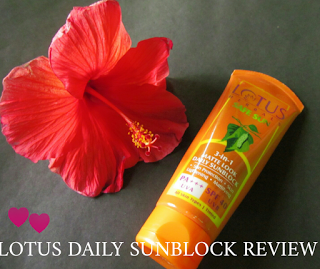
Check out why you need to try out Mamaearth Ultra Light India Sunscreen SPF 50 PA+++. All the ingredients are analyzed in-depth here.
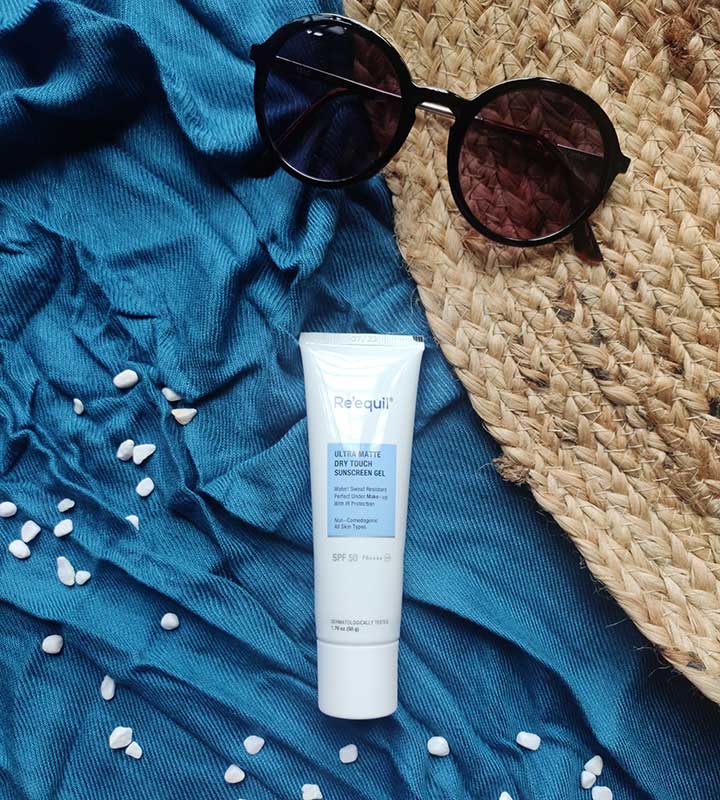
As the title says, it's been more than a month now that I have been using Re'equil Ultra Matte Sunscreen Gel. How safe the ingredients are? Is the formulation good? Well! Questions are many. Let's find out the answers.
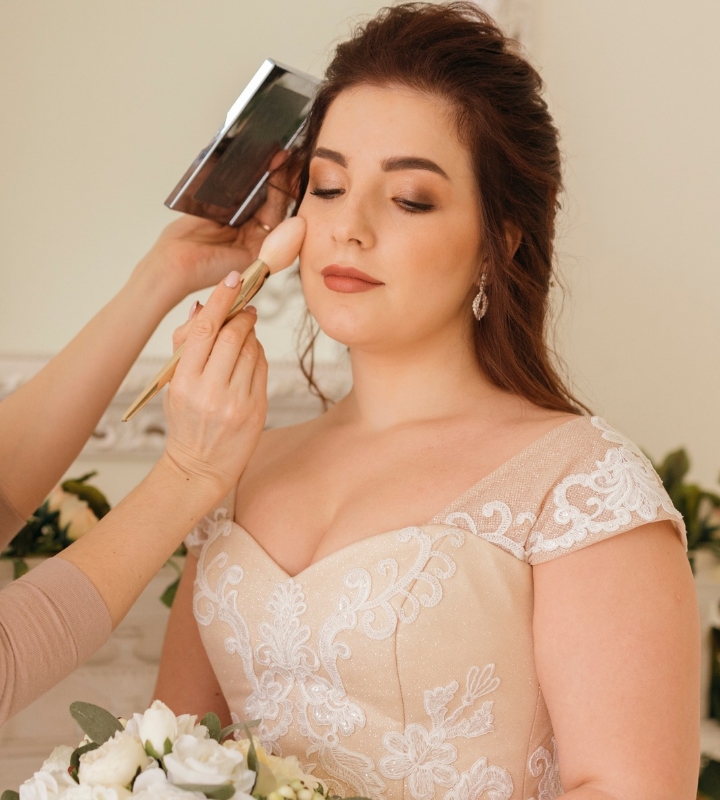
Discover simple bridal tips to feel stunning on your wedding day. From matching your style to the venue, glowing skin hacks, makeup trials, and dress shopping—here’s how to look and feel like a queen.
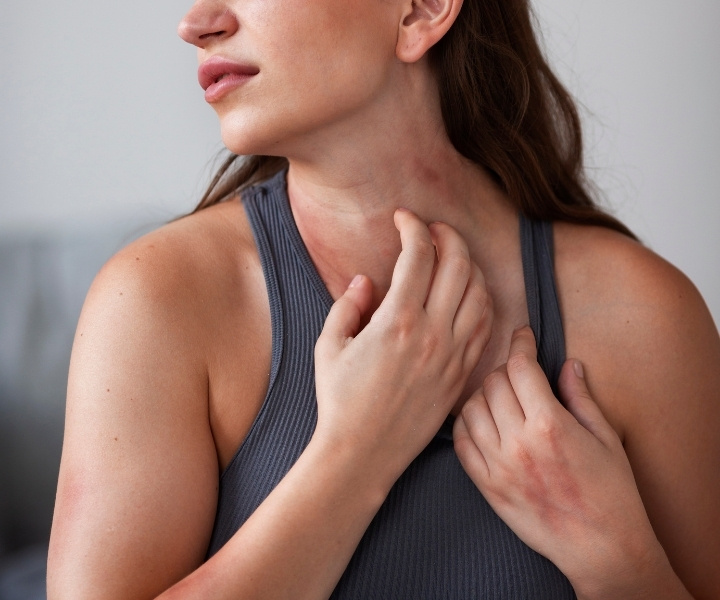
Learn how to recognize warning spots on skin, from ringworm vs eczema to changing moles and unusual patches. Discover which skin signs may indicate underlying health problems.
Hello beauties, today I am here to talk about a […]
Hello my beautiful friends, welcome to CA. Today I am […]
This guide simplifies the process—helping you know your skin type, choose the right ingredients, and build a routine that actually works. From patch testing and actives to budget-friendly picks, find out how to create a safe, effective routine.
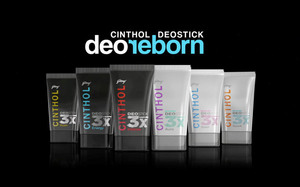
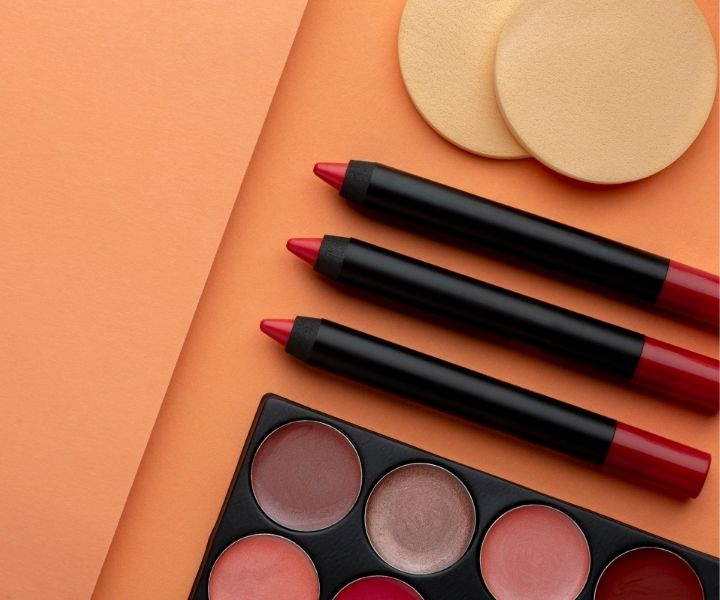
Color Chemistry has recently launched a range of lip & cheek crayon and also eye shadow pallets. Check out the range here.
Discover the Top 5 Vitamin C Serums in India for glowing, bright, and healthy skin. From PHD Beauty to Minimalist, explore dermatologist-approved serums that target dark spots, pigmentation, and dullness effectively.
MY HOLY GRAIL (HG) COSMETICS:Part I Hello my beautiful queens…how […]
Learn how to choose reliable Chinese cosmetic manufacturers based on batch consistency, testing standards, and real production experience. A practical guide for makeup and private label brands.